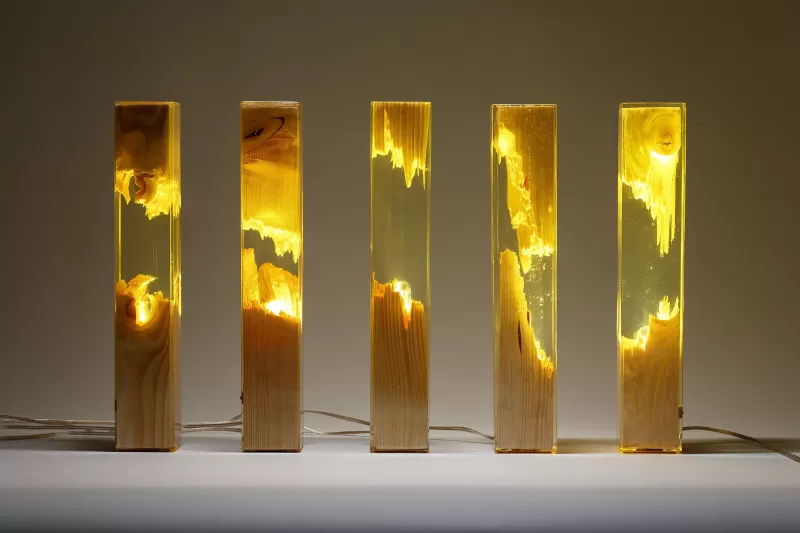
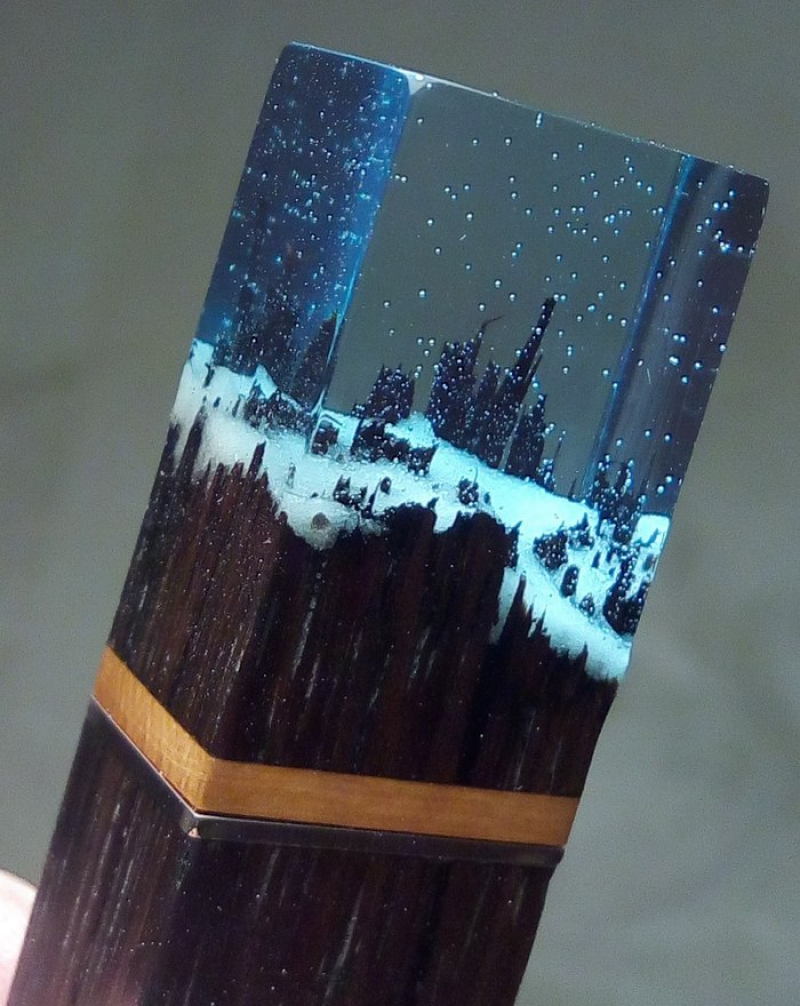
Table lamp is quite a necessary and beautiful piece of interior. And if you build it yourself, it will become an object of pride. The advantages of such a solution are many: the lamp can be made in individual sizes, suitable in design and color to the interior of the room.

In this article, we will talk about how to make a table lamp with their own hands from wood and epoxy resin.
What will be required for our idea? First of all, pieces of chipboard for the frame of the lamp. They must be flat, so that when docking the angle is 90 degrees.
Install the box on a flat surface, preferably covered with food film, to make it easier to separate the finished lamp from it. Fix all the parts with the help of auxiliary tools, such as a clamp. All corners of the future lamp should be passed with sealant, so that then the epoxy does not leak out.

After the preparatory steps, you can start pouring the lamp with epoxy. To create the desired effect, we need black and clear epoxy. First, pour a thin layer of black epoxy and wait until it dries. Pour a layer of clear resin on top of it. Next, you need to lay the decorative elements that you want to use in the lamp. This can be moss, tree bark, dried flowers, shells or something else. The freedom of imagination is not limited. After that pour transparent epoxy all the way to the top of the box.
When the lamp dries, it must be separated from the wooden box. With a knife, remove excess resin from the edges of the lamp. We determine which of the bases will be the bottom.
The last step is to attach the LED strip with superglue. Connect the ribbon and enjoy.

 Русский


